Harvest Checklist
Jul 09, 2025

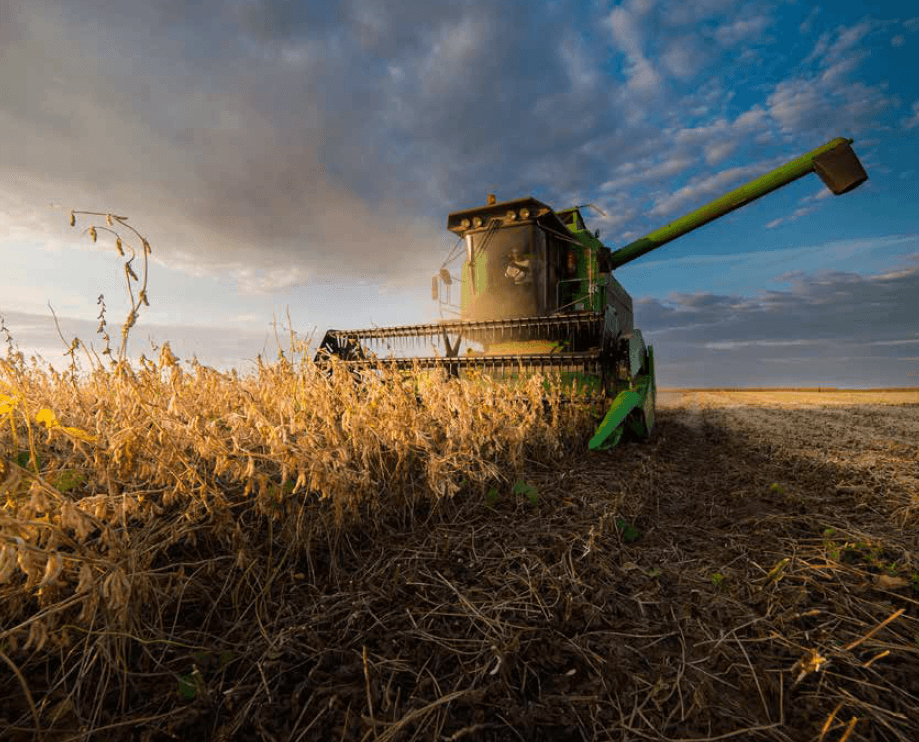
It’s been a very challenging spring and summer to get this crop up and going, and harvest season is rapidly approaching! As we look forward to harvest, we want to support you in completing the cycle with accurate yield data collection. Accurate yield layers are extremely important to record as they provide insights on cropping system performance for future use in decision making, record keeping, and fertility planning. This checklist is designed to help ensure your harvest and yield monitoring process runs smoothly.
Step 1: Inspect Moisture Sensors
Step 2: Inspect the Grain Impact Plate
Step 3: Verify GPS Offsets
Step 4: Set Header Height in Field Monitor
Step 5: Calibrate the Combine
Step 6: Update Monitor Software
Step 7: Confirm Adequate Data Storage
Step 8: Verify Field Boundaries and Naming
Final Thoughts
As you prepare to wrap up the growing season, we hope this checklist encourages thoughtful preparation and helps streamline your harvest. If you need assistance, please don’t hesitate to contact your local Ag Technology Specialist. We're here to help!
Step 1: Inspect Moisture Sensors
- Ensure both your moisture and mass flow sensors are clean and free from debris.
- The inspection method may vary depending on your combine model. Typically, the moisture sensor is located on the bottom half of your clean grain elevator – accessible from under the driver’s side panel. You will need to unclip a few pins and pull out the small auger to clean and remove any remaining debris from the previous season. Use a wet wipe to clean the “fin” of the moisture sensor.
- For in-tank moisture sensors, you should hear the unit cycle (the plunger moving down and back) shortly after the combine is powered on. If you do not hear this, check for an in-line fuse in the wiring near the moisture sensor or fuse box in the cab. As you start harvesting, a tell-tale sign of moisture sensor problems is when the moisture of the crop doesn’t change or stays relatively similar – usually associated with the plunger not pulling in new samples of grain.
Step 2: Inspect the Grain Impact Plate
- The impact plate (or mass flow sensor) is essential to the yield monitoring system, which calculates mass flow, moisture, and speed to determine harvested yield. Usually, the impact place is located at the top of the clean grain elevator.
- Unbolt the hatch on the top of the elevator and examine the poly surface of the grain impact plate for holes or indentations. Replace it if necessary. Ensure the plate moves freely and remove any debris behind it. Check for frayed wiring and good connections in the wiring that runs to and from the impact plate.
Step 3: Verify GPS Offsets
- GPS offsets refer to the lateral distance between the center of the combine and the GPS receiver.
- Input accurate offset measurements into your field monitor to ensure yield data is correctly georeferenced to each area of your field. Also ensure that the header width and measurements are correct.
- After verifying offsets, complete the necessary calibrations for vibration, temperature, and ground speed.
Step 4: Set Header Height in Field Monitor
- Ensure the field monitor is configured with the appropriate header height for your crop. Calibration may be necessary to adjust the “recording point” for the screen to start painting.
- Yield data recording begins when the header is lowered to the preset height and stops when it is raised. Accurate settings are essential for valid yield data as incorrect settings can lead to “sawtooth” edges around the end rows of your field.
Step 5: Calibrate the Combine
- Perform a full calibration of your yield monitor system. Weigh loads using another calibrated scale or grain cart. Measure loads at least 3000-5000lbs to increase accuracy and run the calibration at least 3 times to ensure accuracy.
- Contact your local Ag Tech Specialist to assist with this process, all of our team has access to calibrated grain carts.
Step 6: Update Monitor Software
- Ensure your yield monitor software is up to date.
- Since update procedures may vary by brand or model, contact your technician for guidance if needed.
Step 7: Confirm Adequate Data Storage
- Ensure your iPad or field monitor device has sufficient storage for the entire harvest season.
- We also recommend carrying a high-capacity USB thumb drive as a backup to avoid having to delete files mid-season.
Step 8: Verify Field Boundaries and Naming
- Confirm that field boundaries are accurately drawn and correctly named in your field monitor.
- This step can be completed before harvest begins to reduce potential downtime in the field.
Final Thoughts
As you prepare to wrap up the growing season, we hope this checklist encourages thoughtful preparation and helps streamline your harvest. If you need assistance, please don’t hesitate to contact your local Ag Technology Specialist. We're here to help!